Hydroponics has become the innovative way of growing plants that are usually applied in places with small areas that have soil. However, hydroponics is a soilless gardening method, replacing the soil with water nutrients. In the absence of soil, this gardening method utilizes some tools and equipment to help the plant grow successfully. This includes airstones, air pumps, wicks, and of course, electricity. However, there are still some innovations in this gardening method. One of these is the hydroponic Kratky method.
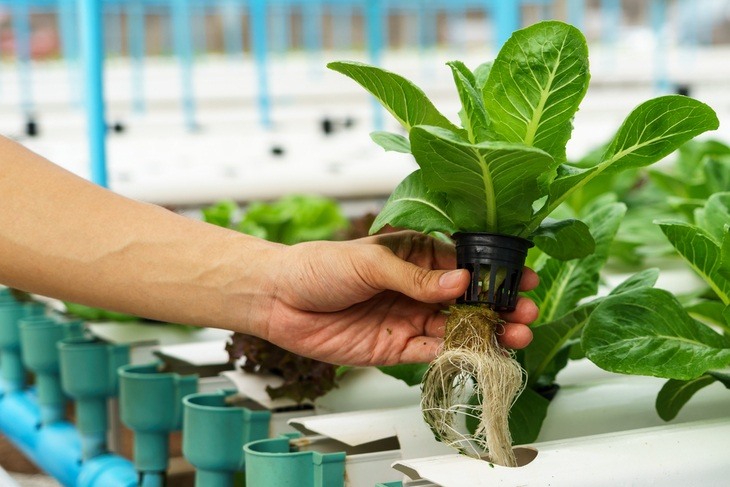
Hydroponic Kratky method does not use soil in growing plant, it uses water instead
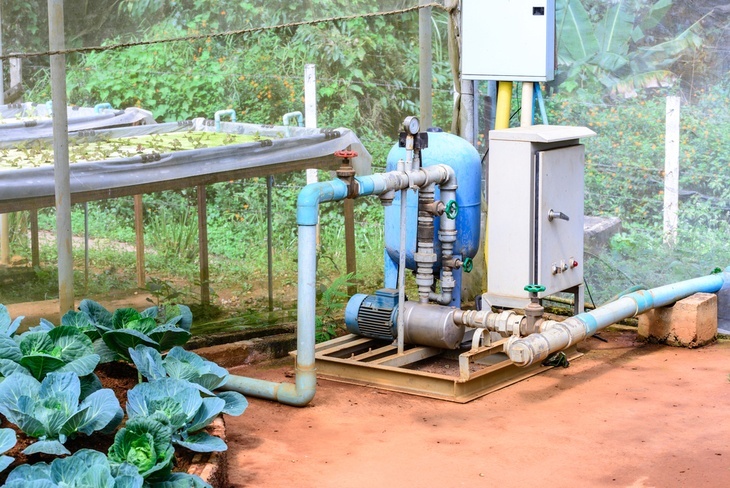
Some hydroponic systems use water pumps to regulate the circulation of water
The hydroponic Kratky method was invented by Bernard A. Kratky, a resident horticulturist at the University of Hawaii. It is one of the easiest ways of doing hydroponics. It is an aquaponics system without electricity, air pumps, and all the other moving tools used in regular hydroponics. Technically, it is a non-circulating hydroponic system and is considered as a simplified one. You only need a 5-gallon bucket (or more) as your reservoir, net pots or net cups, nutrient solution, growing media, and a pH kit.
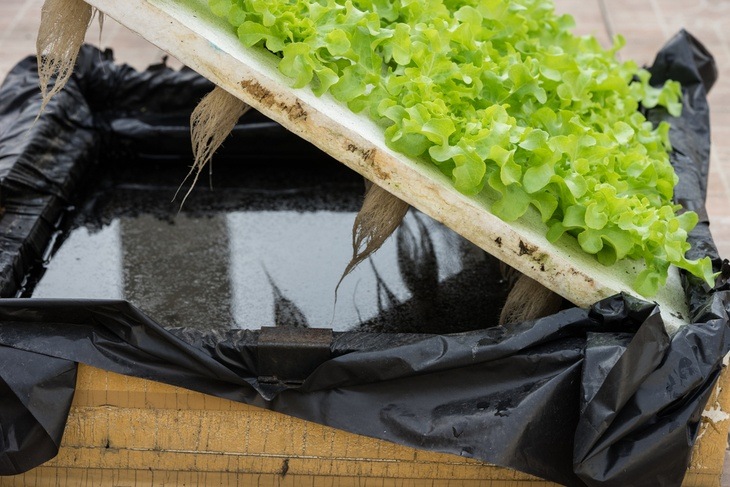
The Kratky method is a simple and easy way of doing hydroponics
Steps In Doing Hydroponic Kratky Method
This hydroponic system is considered as the easiest way of doing hydroponics. It is because you do not have to use water pumps, air pumps, wick, and electricity just to run the hydroponic garden. You just have to use a container as a reservoir, net pots, Kratky hydroponic nutrients, and especially, water. You may also use some pH toolkit to regularly check the pH level of your nutrient solution. If you have all these, then you are ready to start your Kratky hydroponics.
Step 1: Prepare The Necessary Tools
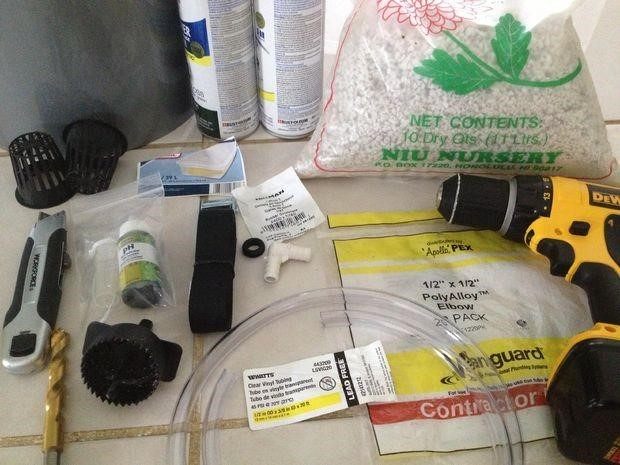
Some tools are also needed to set up the Kratky hydroponics
Aside from the above-mentioned equipment, you also need some tools in setting up you Kratky hydroponics. You need a tape measure, drill, knife, 2-inch hole saw, rubber grommet, small vinyl tubing, perlite, paint, and a ½ x ½ inch elbow.
Step 2: Choose Your Desired Plant
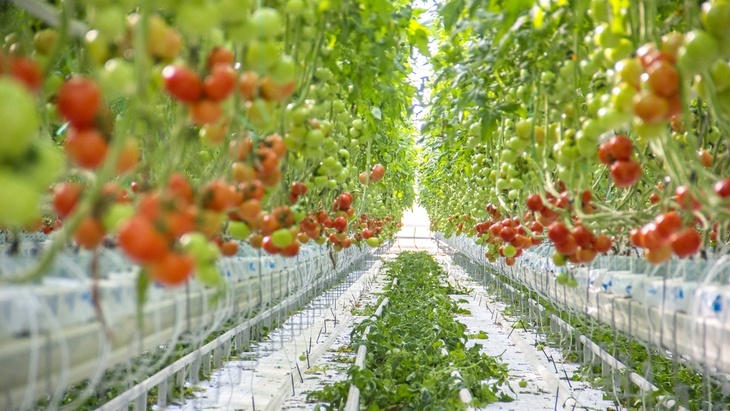
Kratky method tomatoes and Kratky method strawberries
There are plenty of plants that can be used for hydroponic Kratky method. This includes peppers, lettuce, cabbage, tomatoes, green beans, cucumbers, chili, broccoli, and even carrots. Herbs like basil and cilantro can also be planted in hydroponics.
Step 3: Choosing The Appropriate Location For Your Hydroponics
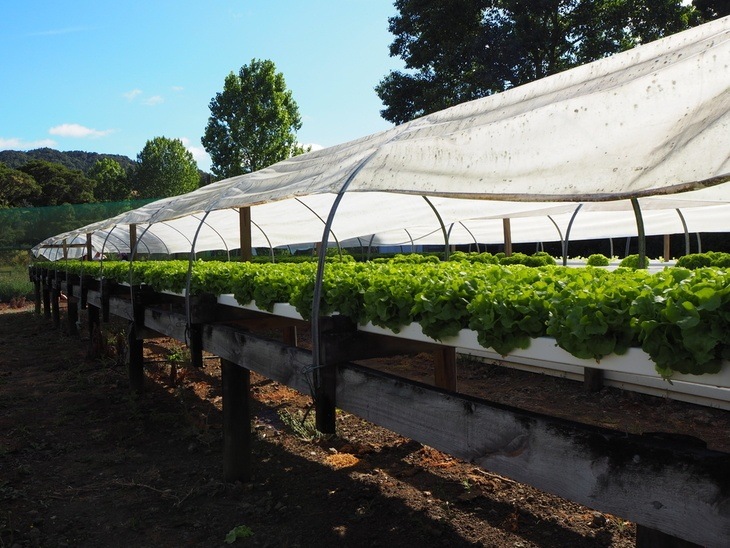
Shady areas and tents are ideal for hydroponics
It is advisable to have a final decision as to where you should place your hydroponics. This is because it would be very difficult to transfer containers filled with water from one place to another. With this, you have to decide whether to place your containers in a shady area of your yard or inside a grow tent. Just make sure that your containers are not exposed directly to the sun to avoid the evaporation of your nutrient solution.
Step 4: Create Holes For Your Net Pots
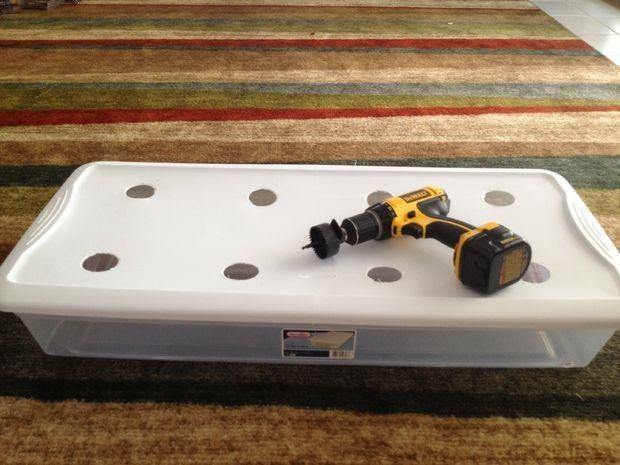
Use the 2-inch hole saw in creating the holes for the net pots
The ideal ratio for the water-nutrient solution is one gallon per one plant. Therefore, you have to determine the capacity of your chosen container. With this, you will be able to determine the number of plants to be situated in the container. This will become the basis as to how many numbers of holes are to be created in the cover of your container. Use the 2-inch hole saw to create the holes.
Step 5: Attach a Tube To Monitor The Level Of The Water
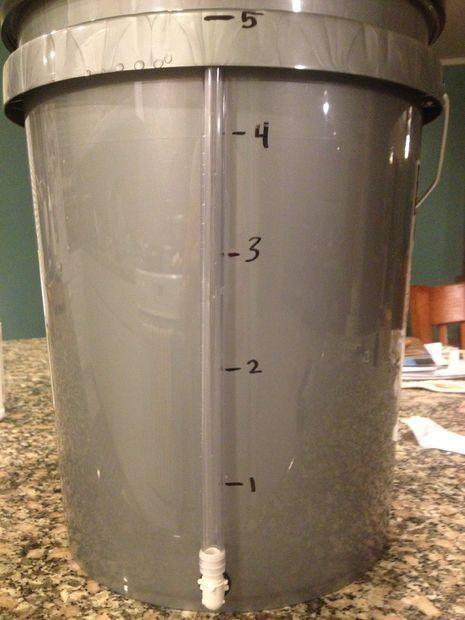
Numbers on the side of the container will indicate the water level
Drill a hole on one side of the container. Make sure that it is near the bottom to assure that the water gets inside the hole. Use the ½ x ½ inch elbow to attach the tube to the hole. Then, using a tape measure, mark the depth of the container along its sides. This will indicate the level of water without opening the lid of the container. In doing this step, make sure to attach everything tightly so that the water doesn’t leak.
Step 6: Paint The Container
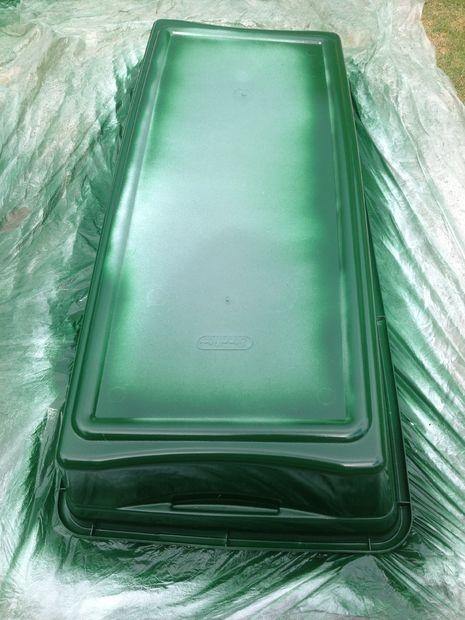
Painted container prevents the nutrient solution from the direct heat of the sun
It is recommended to paint your chosen container. This will help and protect the nutrient solution inside the container from the direct heat of the sun which can alter its nutrient content and may starve your plants to death.
Step 7: Add The Water-nutrient Solution
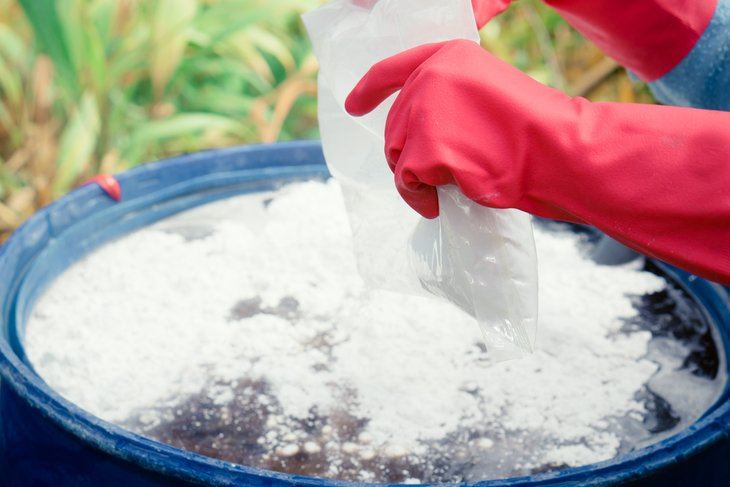
Mix the nutrient product into the water thoroughly
Choose your desired plant nutrient. Mix it with the water inside the container. Make sure that the nutrient granules have already melted. Afterwards, test the water’s pH level using a pH toolkit to make sure that it has the recommended pH level of the nutrient product. A compost tea can also be used as a replacement for the water-nutrient solution.
Step 8: Plant Your Seeds
Cover the container lid with the net pots securely placed onto the holes. Put some perlite on the net pots or net cups, as well as your chosen seeds. Observe your Kratky hydroponics every day. After few days, if there are net cups that don’t have any sprouts, replant some seeds. When the plants have already grown, observe if there is still nutrient solution inside. If the container is already empty, you can refill it if you want to grow your plants longer. You may also harvest your plants and replace it with new seeds if you want to.
Pin it!
