Need a garden watering system, but you’re low on finances?
Keeping a well-manicured and beautiful garden is not easy. It is not only time-consuming but also needs money and water.
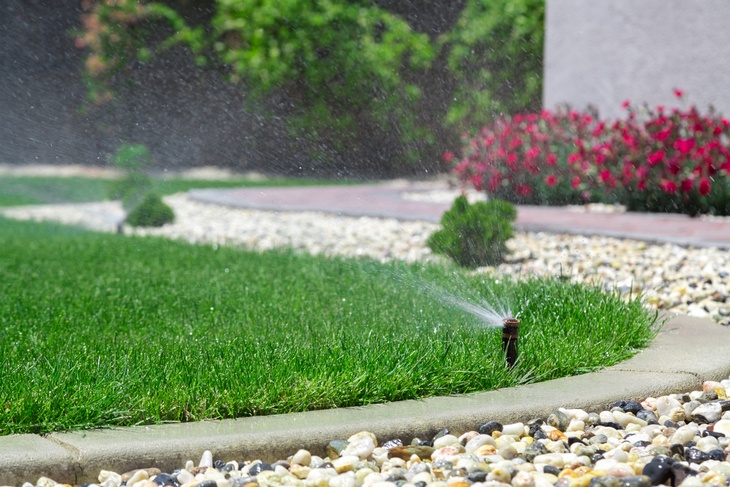
garden watering system
If you don’t have the time to give your garden some TLC, then you should invest in a proper garden watering system. This will not only save the time you spend on your garden, but it will also save the amount of water you use, and even money. What do you do when you don’t have enough money to purchase a proper garden watering system?
I was once in a similar situation before I realized that I could make my own soaker hose. It’s quick, simple, and cheap. You can do it too.
You don’t have to visit the garden shop. I’ll show you how to make a soaker hose for your garden. A DIY soaker hose will help you maintain a healthy garden while saving time, water, and money.
Make Your Own Soaker Hose: What Materials Will You Need?
- Charged Drill
- 3/64 drill bit
- Electrical Tape
- An old garden hose, with sufficient length for your needs.
If you don’t have a charged drill and the required drill bit, there is no need to buy one for this purpose. You can just use a hammer and a 20d nail. They will deliver the same results.
However, a charged drill and the 3/64 drill bit are recommended because they speed up the process.
With these materials in place, you’re ready to make your own soaker hose. Let’s look at the steps you should follow.
How To Make A Soaker Hose For Your Garden: Step-By-Step
Making a DIY soaker hose is easy and fast. Just follow these five steps:
STEP 1: Prepare Your Hose
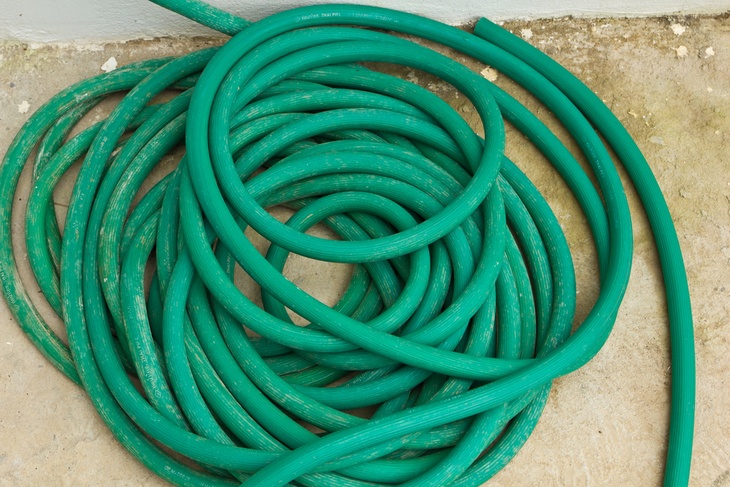
Use old garden hose like this one to create your soaker hose
Lay out your old garden hose. This should be in a place where you can easily assess it from end to end. Is it dirty?
If so, clean it off using a rag. It is imperative that you can see the hose clearly. It shouldn’t be covered in debris or dirt. To turn the garden hose into a soaker hose, you’ll have to punch several holes in it from end to end. That is explained in the next step.
STEP 2: Creating the Holes
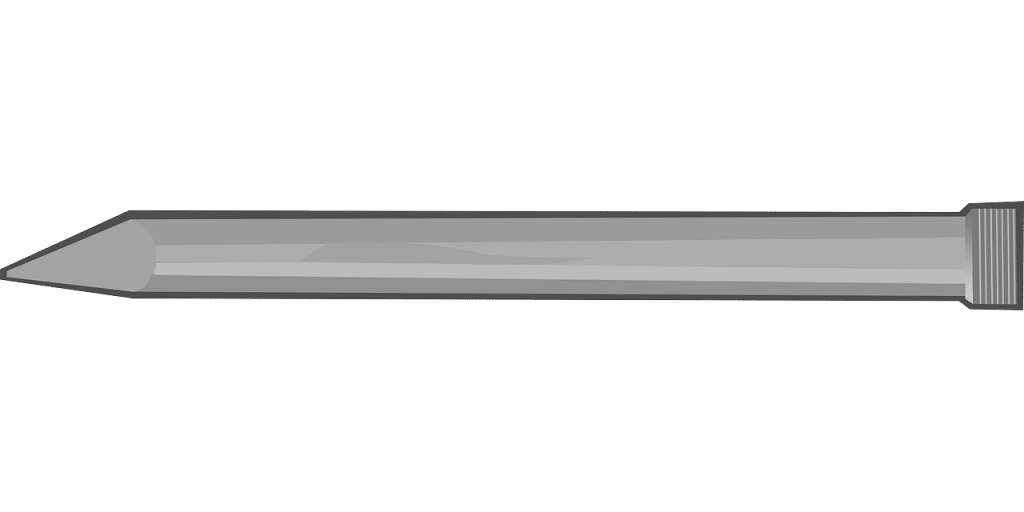
The nail that should be used to poke holes in the hose
Lay out your clean, old garden hose. Then, use the hammer or drill to perforate holes through both sides of the hose. The holes should be about 2.5 inches apart, starting roughly 18 inches from the female end of the hose.
As your hose fills with water, the water will percolate out of the holes, soaking into the soil. This will minimize evaporation and get water directly to the roots of your plants.
STEP 3: Maintain Maximum Pressure
First, lay the hose out to see exactly how much length is being utilized. Then, fold over the end and wrap it in the electrical tape to crimp it closed. If the hose is too long, however, consider cutting it off to an appropriate length before folding it closed.
STEP 4: Decide On The Hose Management
Lay out the hose. Be sure to leave enough of the female end lose. This is to allow for connection to the water source.
Now, it is time to decide if you want your garden watering system to be permanent or movable. This is largely dependent on your watering needs. What’s the best thing to do if you want it to be permanent?
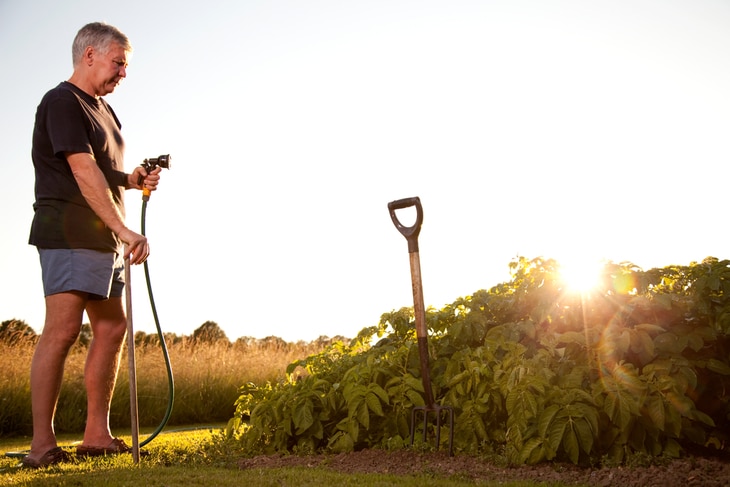
Mature man irrigating vegetables (intentional lens flare)
You should bury your soaker roughly 2 inches underground. This will ensure that it remains in place. It is especially important if you’re doubling the hose back to cover several rows in your garden.
Also, in the case of doubling back, it’s advisable to space the hose rows 5-6 inches apart prior to burying it. You want it to provide an evenly soaked area.
What if you opt for a movable soaker hose, but still want to double back? Simply get some stones to help hold the hose in place at every turn.
STEP 5: Connect The Soaker Hose To A Water Source
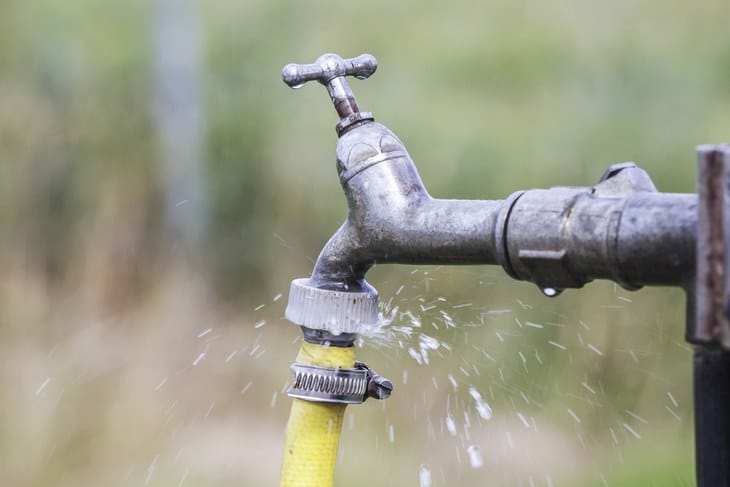
Defective faucet. Water tap spilling water
Attach your DIY soaker hose to the house spigot and turn the water on. Once the hose fills, small jets of water will ooze from each hole. You can control the pressure of the water jets by turning the spigot down a little.
What if your house doesn’t have a spigot? I understand that screwing the soaker hose on and off, the water source is not something exciting.
The best solution to this issue, if your budget allows, is to invest in a garden hose splitter.
A hose splitter comes with several benefits. It allows you to use one source of water for several purposes. For instance, you can keep a hose free to fill reservoir tanks with negligible loss to pressure once all your hoses have filled.
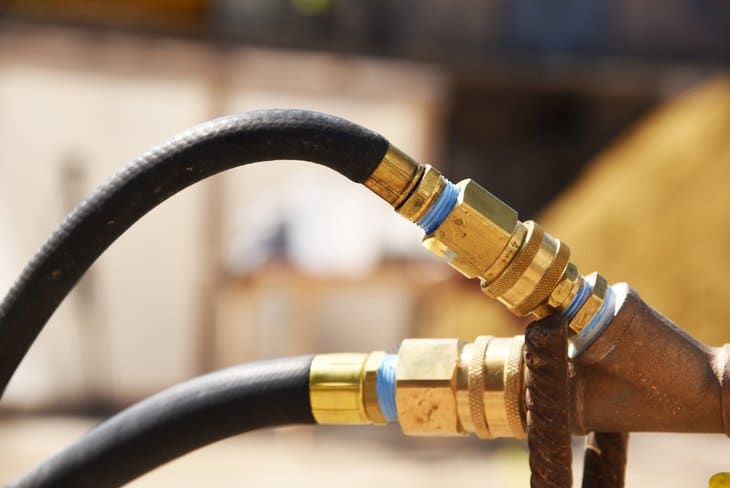
A hose splitter comes with several benefits
Moreover, a good hose splitter prevents overwatering. Likewise, you can easily leave your soaker hose on for long periods of time, and you won’t have to worry about a huge water bill. It also helps save electricity if you are using an electric water pump.
Final Thoughts
Anyone looking to have a healthy and beautiful garden should be ready to invest their energy, time, and money. A well-maintained garden needs proper watering with an efficient garden watering system. However, you should not worry if you don’t have the time or the money to allow you to give your garden some TLC.
You can make your own soaker hose for your garden. All you need is an old garden hose and some readily available tools. Then, you can follow the instructions provided here on how to make a soaker hose. A DIY soaker hose will save you time, energy, water, as well the money you would have spent on buying a garden watering system.
Pin it!
About author: Craig is a contributor and editor at Everything Backyard, a gardening and backyard website that covers everything from gardening tips to backyard projects. He loves to spend all the time he can outdoors and find every excuse to leave his house. If you can’t get a hold of him, he is probably on a trail or a boat.