Do you know where your garlic came from? One of the most important reasons for you to grow your own garlic is to avoid toxic chemicals that inhibit sprouting and chemicals sprayed for extended shelf life. Growing your own garlic is ridiculously easy.

A few essentials can be easily met: fertile soil, sufficient moisture, and of course, the right time to plant and harvest.
Carefully following the right steps in planting cloves will result in growing perfect crop of garlic. Don’t plant garlic cloves from the supermarket though, buy from a garden center or a farmer’s market.
Here are 6 easy steps to grow a gorgeous crop of garlic.
1. Prepare The soil
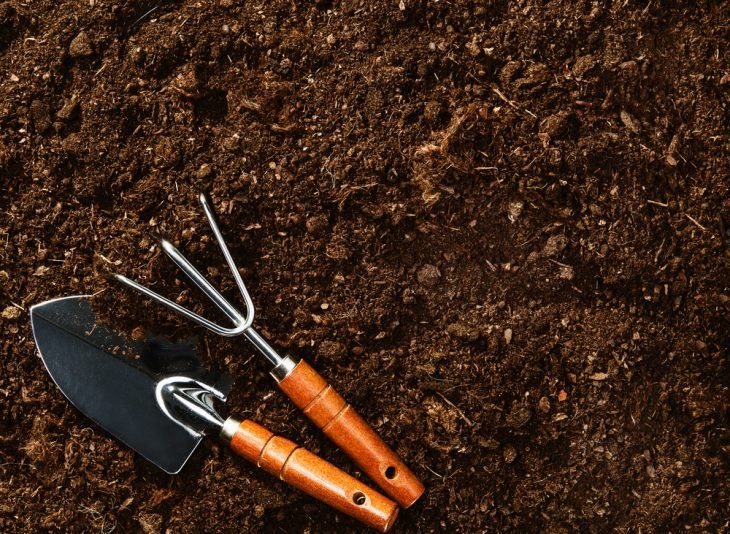
To grow gorgeous, large heads of garlic, you need loose, fertile soil. You may loosen the soil with a digging fork and spread a 2 to 3 inch deep layer of organic matter over the area, then dig it in.
If your soil isn’t perfect, it’s okay. Garlic can do well even in marginal soil. Fertilizing with organic matter like manure, alfalfa, aged mixture of compost, and leaf mold as well as using cover crops can make the soil fertile.
2. Choose Your Varieties
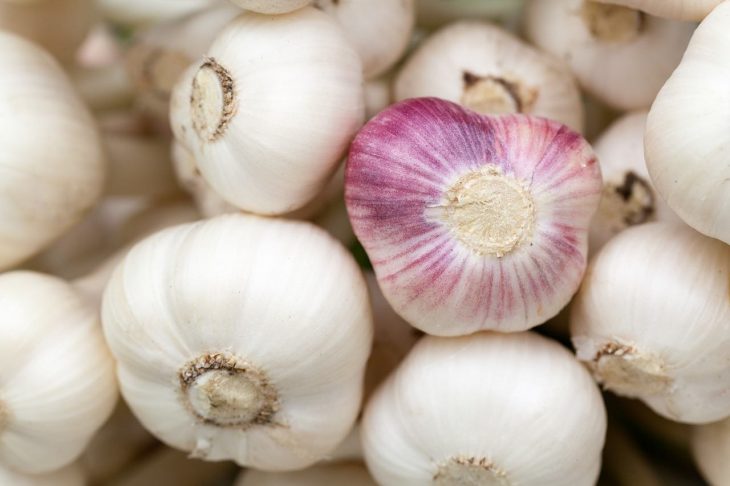
There are hardneck and softneck garlics. Hardneck garlics have cloves growing around a hard stalk that forms like a curled flower stem or scapes on top.
Softneck garlics have more cloves, with large ones around the outside of the head and some small ones at the center. Softneck garlics also tend to last longer once harvested than hardneck garlics.
Depending on how many cloves in a head of garlic there are, break apart the head of garlics and only plant the largest cloves.
3. Plant The Cloves
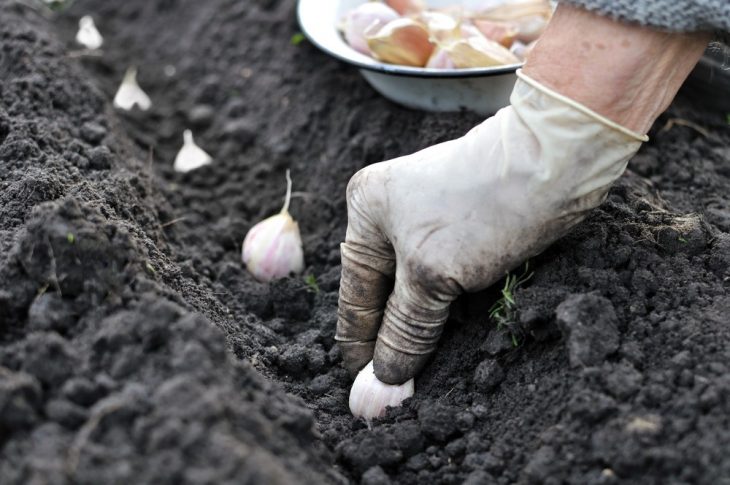
To plant the garlic, place the cloves 4 inches apart in a long narrow trench. Hold every clove pointed end up, and plant it into the soil at about 2 inches deep.
Once all the cloves are planted in the ground, smooth the soil surface using a rake to fill in the holes, and then water well.
If you plant more than one variety, put a label on them. Create a map of your planting, in case the labels go astray. After planting, wait to for a month or two before mulching to let the soil cool down.
4. Fertilize And Water
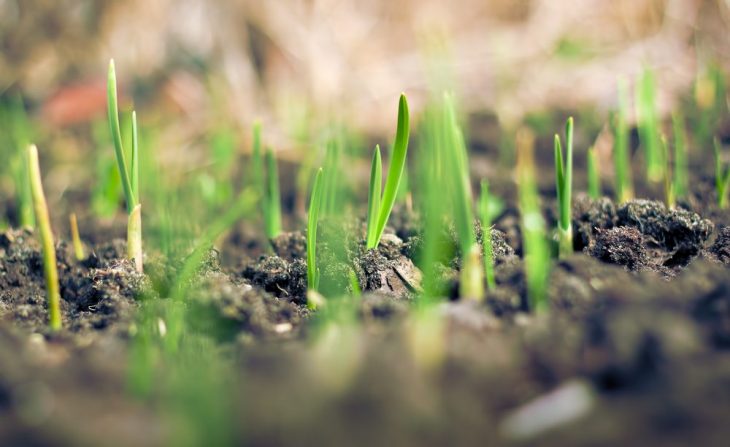
Top growth starts in spring when the weather is warm and the days are long. Fertilize twice with a liquid kelp solution and fish emulsion once, when the garlic has grown strong.
Do it again a month later. Garlic doesn’t need lots of water, but make sure it doesn’t dry out. When the soil is dry an inch below the surface, it’s time to water. Stop watering in mid to late June.
By that time, the garlics are bigger and their heads have already formed cloves. How many cloves in a head of garlic in average depend on the garlic’s size and kind.
5. Carefully Schedule The Harvest
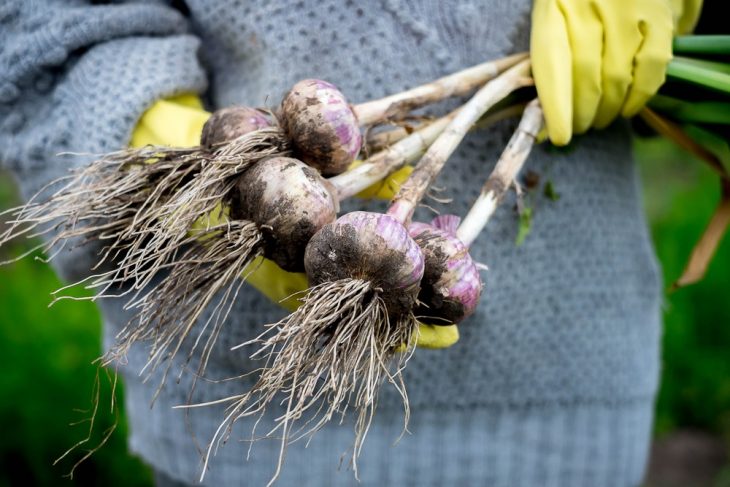
Harvest in late spring or early summer. Use a garden fork to harvest the garlics. Carefully drive the garden fork so that the bulbs are not damaged. Pry themloose and pull them out. Remove excess soil by shaking them off, and lay the plants in a pile.
Want to find out how many cloves in a head of garlic? When growing more than one variety, separate each variety and label them so that you know what’s what.
Take note how many cloves in a head of garlic once you’ve harvested your garlics. After harvesting, place the plants in an airy location that is away from the sun and rain.
6. Cure, Clean And Store The Garlics
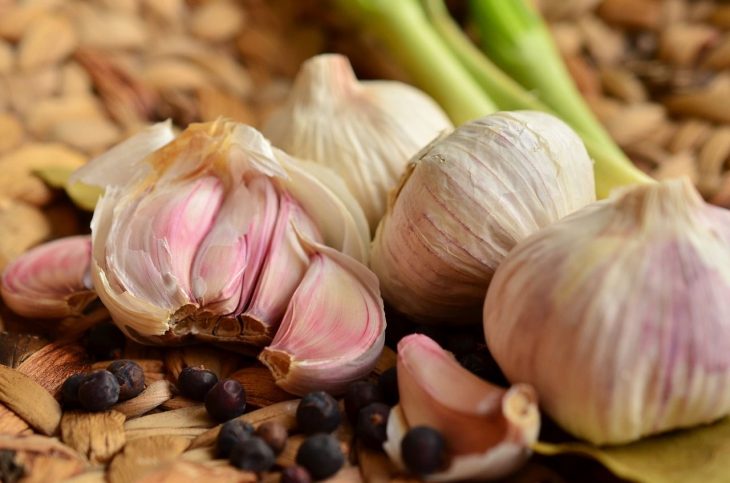
To cure garlic before storing, hang the bare bulbs in bundles or spread them out on a flat surface or rack.
You can already use the garlics, but bulbs intended for storage must be cured. Clean the bulb after a few weeks of curing. Trim the stalks 12-inch above the bulb.
Also trim the roots close to the bulb. Use a toothbrush to remove any soil on the base and rub off the outer layer around the bulb. Try not to get rid of more wrapper layers than you have to. Store the bulbs in a well ventilated, dark area.
It’s really easy to grow your own garlic. Count how many cloves in a head of garlic and keep those that have few large cloves. Set aside the largest bulbs to be planted in the fall. I hope you’ve enjoyed learning how to grow crops of garlic.