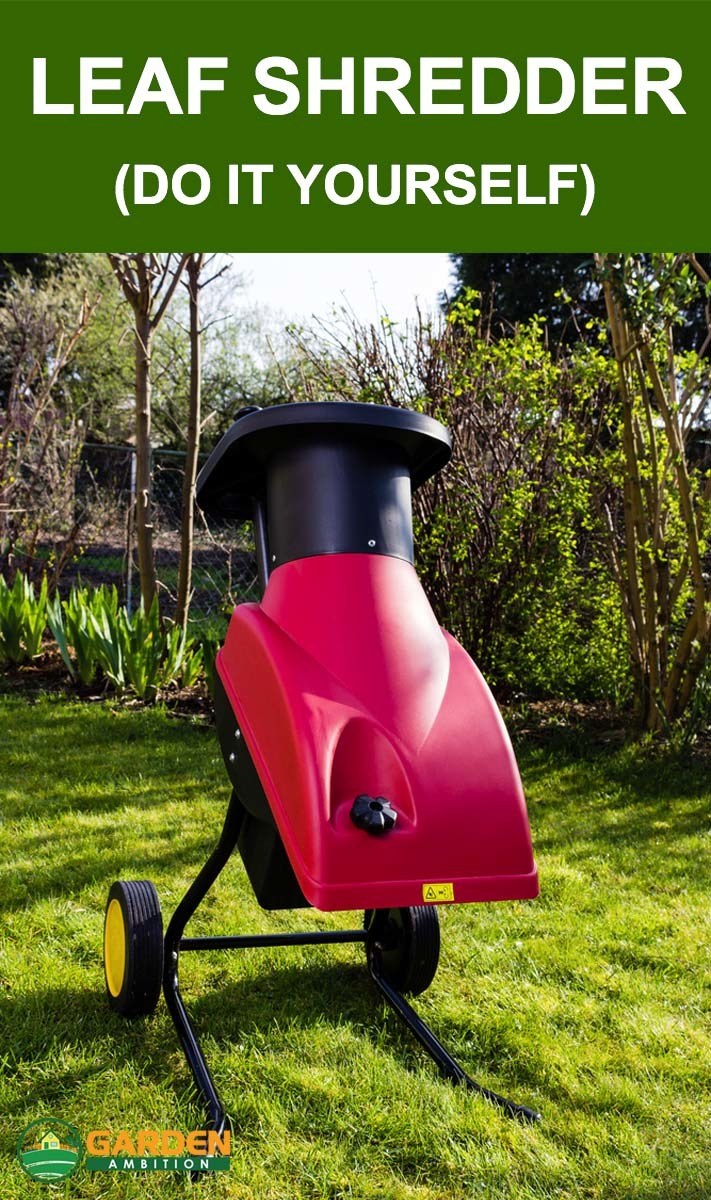
The fall season is over, leaving a big pile of leaves on your property. But did you know that these leaves are rich in nutrients that would be beneficial for your garden? You can actually use them as a fertilizer. However, you would need a leaves shredder for the job.
In this article, we would be teaching you how you can make a diy leaf shredder at the convenience of your own home, but first, let us discuss what mulching is.
What is Mulching?
Mulching is a method of recycling leaves. Mulch is the product of mulching. It is made of materials, such as leaves, that are spread over the soil or around the surrounding of plants. This keeps the soil cool and keeps the weeds away. So, before you collect the leaves in your garden or yard and put it in a bag to be thrown out to the landfills, think twice. You might be throwing out a precious gem from your garden.
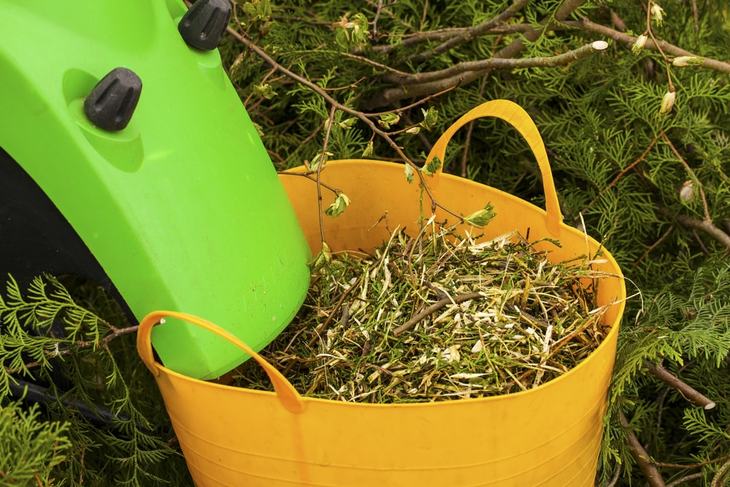
A leaf shredder can be used to create mulch that can protect plants against extremely cold temperature.
Method One: Using an Old Mower
-
Step 1: Place a Wood Block
For the first step in making you diy leaf shredder, put the mower on its side. Then, take the wood block, and then put it in between the blade and the body of the mower so that the blade won’t be able to move while you are working on it.
-
Step 2: Loosen the bolt
You will see bolts in your mower that secures the blade. Loosen it. Then, take out the blade from the mower.
-
Step 3: Place the new blade
After you have successfully removed the old blade, place the new one (mulching blade). Make sure that you have tightened the nut.

Leaves turned into an organic matter can prevent soil from drying out fast as they help in holding in moisture in the soil.
-
Step 4: Replace the discharge chute
Change the discharge chute with a discharge cover. It is important to measure the discharge chute first so that you will know what size of discharge cover you would need for your mower deck.
-
Step 5: Separate the discharge chute
Separate the discharge chute by removing the bolts that secure the mower deck’s body.
-
Step 6: Place the discharge cover over the chute
To finish your diy leaf shredder, place the discharge cover over the chute just so you can check whether the holes for the bolt are in line. After checking, insert the bolts into the holes. Make sure to tighten it.
After following all the instructions listed above, you can then try out using your newly made homemade leaf shredder in your yard to know whether it works the way you wanted it to work.
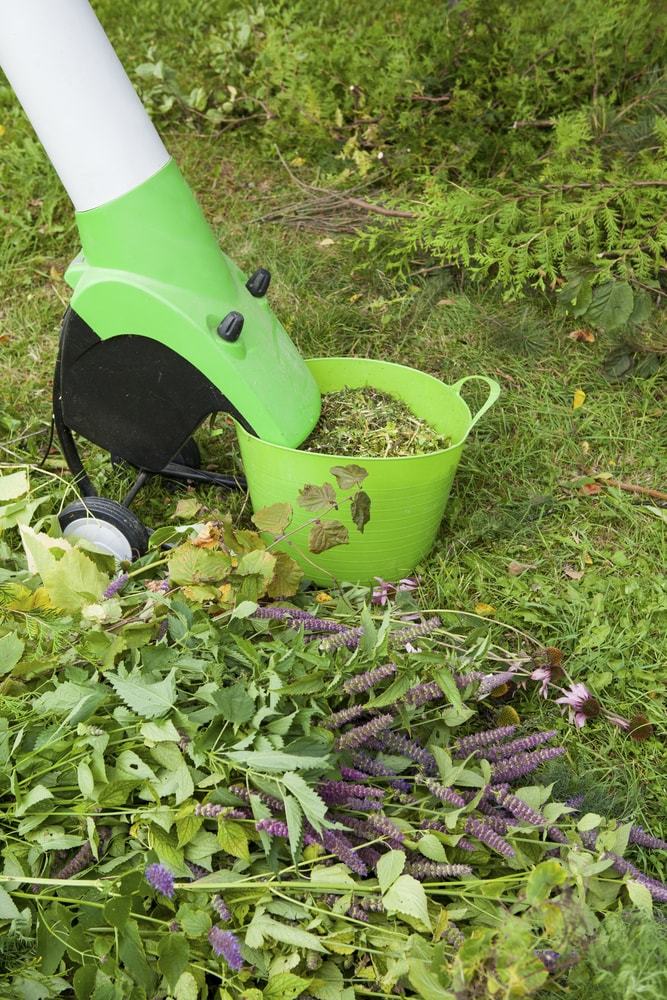
The horsepower of a leaf shredder indicates its overall capacity. The higher the horsepower is, the heavier materials it can handle.
Method 2: Using a Used Electric String Trimmer
-
Step 1: Cut the trimmer
For your diy leaf shredder, cut some portions of the trimmer’s body, enough for it to fit into the metal garbage can (the one that comes with a cover). Then, remove the pole that connects the body of the trimmer with the handle. Make sure that you don’t cut the electrical wires inside. Use a hacksaw and lock the trimmer in place.
-
Step 2: Use electrical tape
Using an electrical tape, wrap the electrical wire, the handle, and the base of the trimmer.
-
Step 3: Cut a Wood Board
Measure the diameter of the bottom of the garbage can. Draw it on a piece of wood board with an allowance of about 2-4 inches. Do the same thing for the trimmer head. After that, cut it out, and you will have a donut shape cut out.
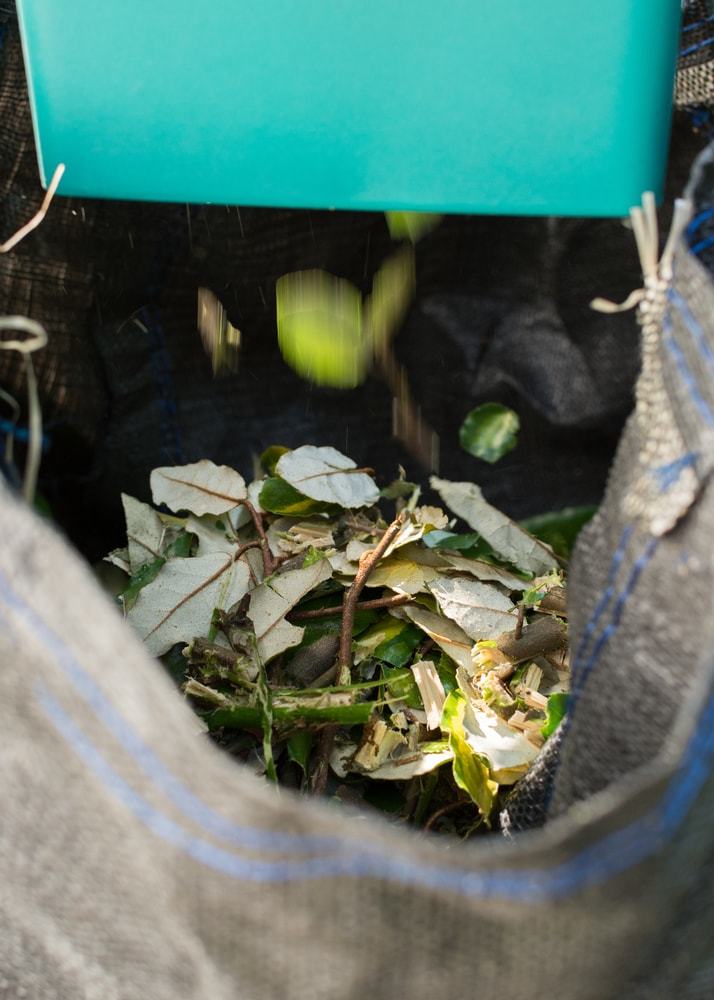
When using a leaf shredder, you should not put too many leaves at a time to ensure that the machine would be able to suck and shred them.
-
Step 4: Place the trimmer
Place the trimmer at the hole in the center. Then, screw it to the bottom of the garbage can.
-
Step 5: Make a Hole
The 5th step in making your leaves shredder is to make a hole at the bottom of the garbage can. Then, make 4 more holes along the edges.
-
Step 6: Place a Hardware Cloth
Place a hardware cloth over the bottom of the garbage can. Snip the wire till it becomes round. Also, create an opening at the center of the cloth. It should be of the same size as the hole in a garbage can.

Leaves can be used as fertilizers to nourish soil and shredding leaves before using them helps release nutrients to the soil quicker.
-
Step 7: Cut out 8 wood strips
Cut out 8 pieces of 1×2 wood strips of about 3-4 inches long. Then, screw 4 of the pieces on the bottom of the metal with the cloth placed in between. As for the remaining 4 wood strip pieces, screw it on the side. Half of the strips should extend out to serve as the legs of your leaves shredder.
-
Step 8: Reassemble the trimmer
Place the string and the cap of the trimmer inside the container. Make the garbage can stand on its legs. From there, you can place the leaves that you wanted to shred inside and close the lid. Then, pulse your homemade shredder and that’s it.
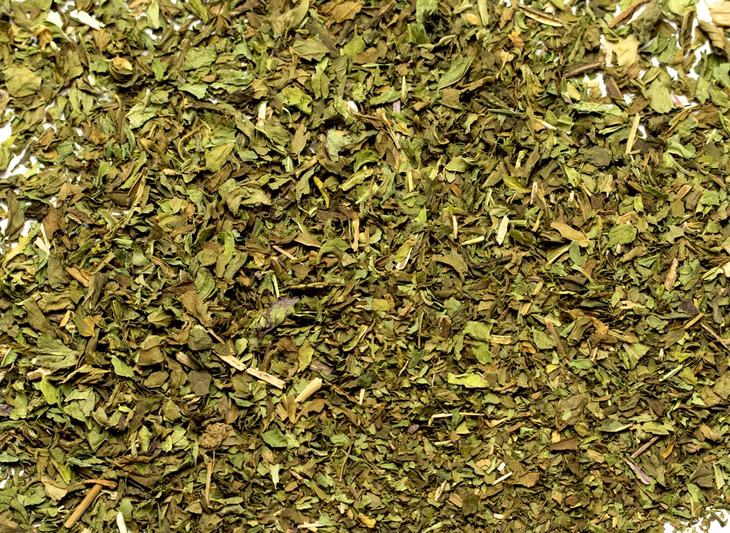
The leaves of trees contain about 50-80% of the nutrients that trees collect as they grow.
Take A Look At Our Top 5 Leaf Shredders For Mulching:
|
Rating |
Products |
Our Rating |
Price |
|---|---|---|---|
|
1 Best |
Editor’s Choice |
||
|
2 |
CHECK PRICES | ||
|
3 |
CHECK PRICES | ||
|
4 |
CHECK PRICES | ||
|
5 |
CHECK PRICES |
See? It’s actually not that hard for you to make your own homemade leaf shredder. Also, it is a much cheaper option for you if you lack the budget. So, make yours today. On the other hand, if you still insist on buying one, consider checking out our review first.
Thanks for dropping by and best of luck!:)
You may also read:
- Best Electric Leaf Shredder Reviews | Things To Consider When Buying One
- Worx Leaf Mulcher Shredder (A Detailed Review For First-Time Buyers)
- Sun Joe Chipper Shredder Complete Review: Should You Buy It?
Pin it!
