Potatoes are one of the staple foods that you just can’t live without. They are a fixture on every American dinner table — whether fried, baked, mashed, scalloped, or roasted. And because it’s such an indispensable food item, you are probably compelled to know how to grow potatoes in your own vegetable garden.
The great thing about potatoes is that they’re quite adaptable and easy to grow. And because you’re harvesting your own crop, you will be assured that it’s fully organic and healthy. Learning how to grow potatoes can only be a win-win situation — apart from being an adaptable crop, potatoes have a long shelf life and can save you a bunch of money throughout the year. Knowing how to grow potatoes is actually not a difficult task but requires due diligence. If you’re into gardening and growing plants in general, growing potatoes should be easy-peasy.
Planting the Seeds of Those Spuds
Before planting potatoes, there are several factors you need to consider. Even though potatoes still thrive in less-than-perfect conditions, planting them during the most ideal time and in the most suitable environment will yield the best results.
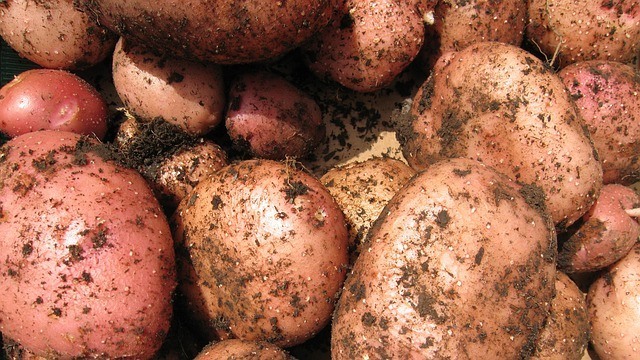
Image from Pixabay
The Best Time to Plant Potatoes
If you live in a warm location where frost is not a concern, then good for you. Potatoes thrive in sunny weather but require cool soil temperatures (between 45 to 55 degrees Fahrenheit). The best time to plant them should be about a week or two after the last spring frost. Early spring is usually ideal to work on tilling the ground to start a potato patch.
The Most Suitable Conditions for Potato-Planting
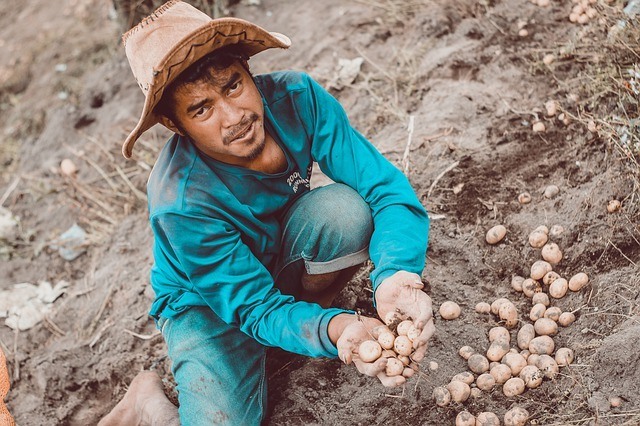
Image from Pixabay
When planting potatoes, keep in mind that the soil should be loose and well-drained, meaning water should be allowed to percolate through it. Saturated soil prevents oxygen from circulating to the roots and thus, should be avoided.Ideally, the soil should have a pH reading of between 5.0 to 7.0 in order for the potatoes to thrive. Two parts garden soil to one part compost
should be a good mix if you’re the exacting type. When starting a potato patch, make sure to remove weeds regularly.For locations with long growing seasons, a second planting can be made in the middle of June — this allows you to harvest the potatoes at a later time and affords you an extended period for storage.
Prepping Seed Potatoes for Planting
This is an important step in the planting process. To expedite sprouting, the seed potatoes need exposure to light and 60- to 70-degree temperatures a week or two prior to planting. One or two days before planting, slice the larger seed potatoes into 2-inch square pieces with each piece containing at least 1 to 2 eyes or buds. Smaller potatoes (the size of or smaller than a golf ball) should be planted whole. Cutting and curing the seed
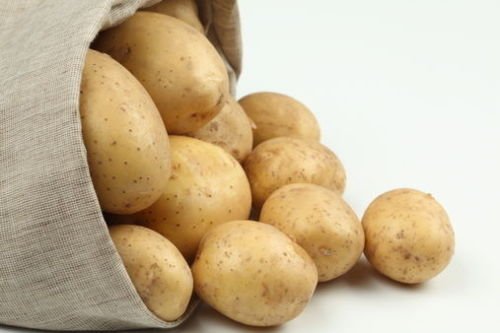
Image from Amazon
before planting will allow a protective layer to grow around the cut surface which retains moisture and prevents rotting.
Going Through the Process of Planting
Now that you have the seed potatoes ready for planting, start digging a trench about 6-8 inches deep. Potatoes grow best when planted in rows, so make sure they are spaced about 3 feet apart. For best results, mix in some organic compost or manure at the bottom of the trench.You can now start planting your seed potatoes. For every 12-14 inches, plant each piece (cut side down with the buds pointing upwards), then cover with about 3-4 inches of soil. Fill the trench with only 4 inches at the start and allow the seed potatoes to grow. After 12-16 days, sprouts will start to appear. Refill the trench with another 3-4 inches of soil, making sure to leave a few inches of the plant visible and exposed.Repeat the same process after several weeks but make sure to mound the soil about 4-5 inches above the ground. This is called “hilling.” Remember to keep a few inches of the plants exposed to allow them to keep growing. It’s good practice to add organic mulch between rows to help retain moisture and keep the soil cool. This will also prevent weeds from growing further in the soil.
How to Grow Potatoes

Image from Pixabay
Planting is only half the battle. To be able to harvest the best and biggest, you must know how to grow potatoes the right way. To achieve this requires two things: Do as much hilling as necessary and water the potato plants as consistently as possible. For best results, hill the soil in the morning. Keep the tubers away from sunlight lest they will turn green. When tubers turn green, they produce solanine — a bitter-tasting and toxic chemical.Hilling should only be done up until the plants grow to about 6 inches tall. This means the plants are just about ready to bloom. Dig the soil around the base of the plant for support as well as to cover the tubers underneath.Make sure to water the potato plants consistently — about 1-2 inches of water per week. Watering is especially crucial during the flowering stage for better crop growth. Watering too much or too little will result in deformed tubers. Be diligent about removing weeds regularly to keep your potato plants growing healthy. When the leaves start turning yellow, discontinue watering to start the curing process for the harvest season.
Pests and Diseases to Watch Out For
Part of knowing how to grow potatoes the right way is to keep them free from pests and diseases. To ensure that your potato plants are growing optimally, keep a close watch for pests and diseases. Some common ones include the following:
- Aphids
- Flea beetles
- Potato scabs
- Colorado potato beetles
Make sure to get rid of these destructive pests at the soonest possible time to avoid losing your hard-earned crops to them.
How to Harvest the Best Taters
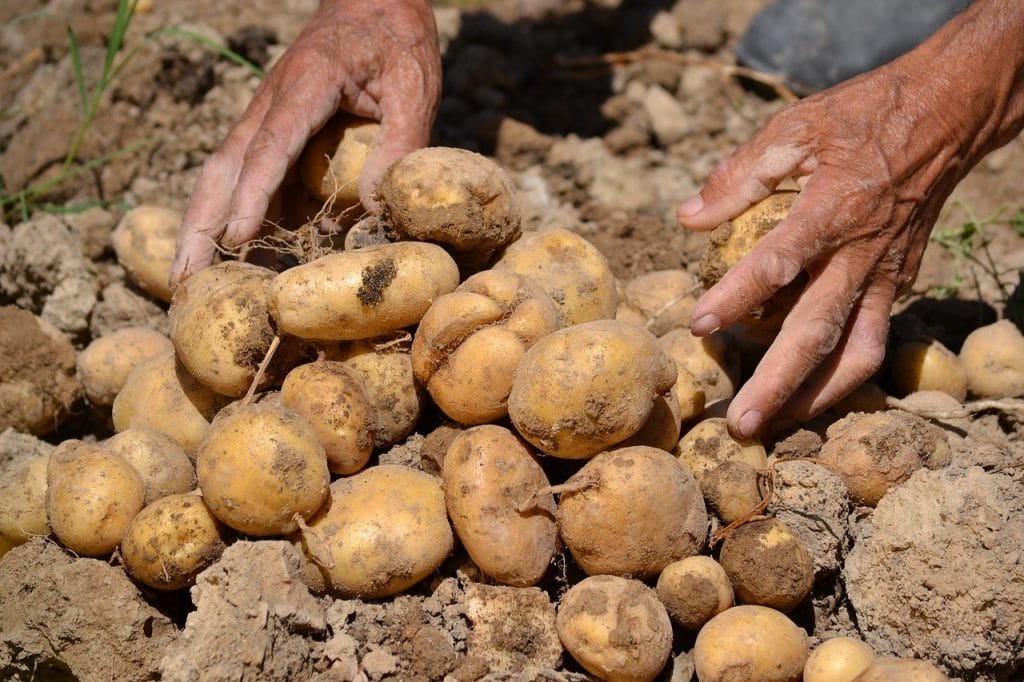
Image from Pixabay
The best time to harvest potatoes is on a dry day when the soil is less compact. Exercise caution when digging so as not to puncture the tubers nor bruise the potato skins. If the soil is wet, allow the potatoes to air-dry before placing them in a bag or a basket.If you’re harvesting for new or baby potatoes, it should only take about 2 to 3 weeks after the plants stop flowering. Dig gently around the plants to harvest only what you need. Take care not to disturb the smaller ones so they’ll continue to grow. Remember that new or baby potatoes should be used or consumed immediately after harvesting.Mature potatoes can be harvested 2 to 3 weeks after the leaves have withered or died. These will produce the biggest and best crops. Cut the dead leaves to the ground and wait from 10 to 14 days before harvesting. This will allow the potatoes to develop a thicker skin. Make sure to harvest the potatoes within the given time frame lest they will rot.Unlike new or baby potatoes, mature potatoes can be stored for a longer time. If the weather is dry, leave the potatoes in the field for 2 to 3 days to allow them to cure before storing. Store freshly harvested potatoes in a cool and dry place for two weeks with temperatures ranging from 45 to 60 degrees Fahrenheit to cure their skins and to allow for longer shelf life.After the potatoes have been cured, remove any soil from the skins and store in a cooler, dark place with humidity and temperatures ranging from 38 to 40 degrees Fahrenheit. Do not store potatoes in the refrigerator nor with apples as they give off ethylene gas which may cause the potatoes to go bad. Wash potatoes only when you’re ready to use or consume them immediately after. Washing potatoes before then will only shorten their shelf life.
Conclusion
Knowing how to grow potatoes (and other crops for that matter) in your own garden can be a fulfilling experience. Once you get the hang of it, remember to rotate the spot for planting every 3-4 years — do not keep growing potatoes on the same spot.Avoid planting in spots where flooding occurs. Make sure that there’s enough drainage. Do not plant too many seed potatoes at one time — overcrowding your potato plants will result in a lower crop outcome. Potatoes need their space and soil to grow.When it comes to “food-shopping,” nothing can be more satisfying than harvesting the fruits of your own labor. Wear the hat and the gloves, bring a basket, and start digging for the edible treasures you’ve planted in your own backyard.By learning how to grow potatoes, the preparation and cooking process becomes even more enjoyable. You will definitely relish every morsel of the taters you’ve planted, grown, harvested, and prepared on your own to feed your family and loved ones.After all, nothing else can be tastier, fresher, and better than homegrown food. Call ‘em, cook ‘em, and enjoy ‘em in whichever way you want — spuds, taters, chips, fries — the sky’s the limit.
Last update on 2024-04-25 at 21:41 / Affiliate links / Images from Amazon Product Advertising API